Whether you’re looking to add a glossy finish to your furniture or want to refinish an old piece, applying a few coats of polyurethane can be a great way to get the job done. But before you go ahead and apply the polyurethane, you may be wondering if you can use an orbital sander in between coats. In this blog, we will take a look at the answer to this question and explore the pros and cons of using an orbital sander between coats of polyurethane.
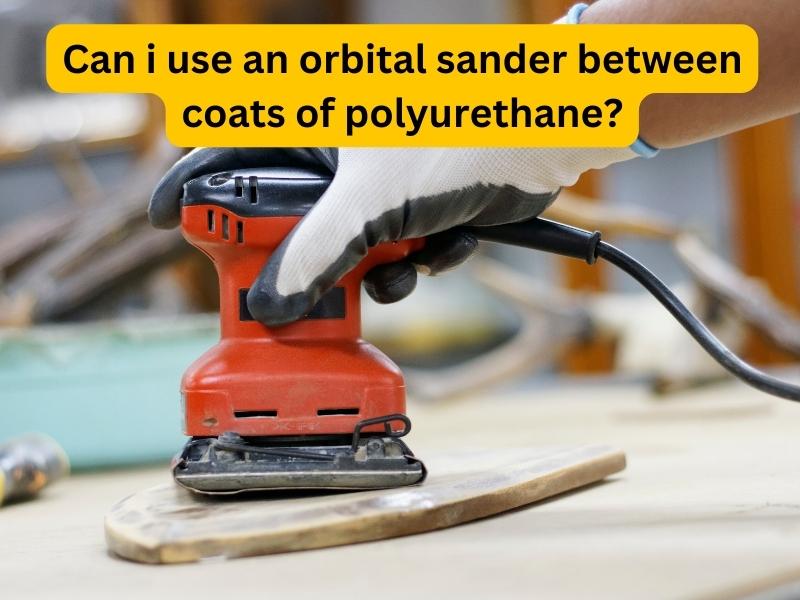
Can I Use an Orbital Sander Between Coats of Polyurethane?
Yes, you can use an orbital sander between coats of polyurethane. This is a good idea if you want to ensure a smooth, even finish. But, it is important to use the right technique in order to avoid damaging the surface. It is important to note that the sander should be used with a fine-grit sandpaper and sanded lightly in a circular motion. Be sure to dust off the surface before applying a new coat of polyurethane.
How can I use an orbital sander between coats of polyurethane?
Here’s how you can achieve a smooth, professional finish with an orbital sander between coats of polyurethane:
- Start by sanding the entire surface with an 80-grit sandpaper to remove any imperfections and ensure the surface is completely smooth.
- Once you’re finished sanding, use a vacuum to get rid of all the dust on the surface.
- Next, attach a 120-grit sandpaper to your orbital sander and start sanding the surface in a circular motion.
- When the entire surface is sanded, use a damp cloth to wipe it off and get rid of any remaining dust particles.
- Once the surface is clean and dry, you’re ready to apply the first coat of polyurethane. Make sure you follow the instructions on the can and apply the polyurethane evenly and consistently.
- Allow the first coat of polyurethane to dry according to the instructions on the can.
- Once the first coat is dry, repeat steps 1-3 to lighten the surface.
- After you’re done sanding, use a vacuum to get rid of all the dust particles.
- Now, apply the second coat of polyurethane and allow it to dry completely.
What is the Right Grit of sandpaper for using an orbital sander between coats of polyurethane?
When you are using an orbital sander between coats of polyurethane, it’s important to use the right grit of sandpaper to ensure a smooth, even finish. A medium-grit sandpaper, usually an 80-grit, is usually the best option for this. It’s important to make sure that you don’t use a sandpaper with too high of a grit, as this can leave swirls in the finish. You also don’t want to use a sandpaper with too low of a grit, as this can leave scratches in the finish. The 80-grit sandpaper should be able to remove any imperfections in the finish without making any deep scratches or swirls. After sanding with the 80-grit, you may want to switch to a higher grit sandpaper, such as a 120-grit, for a smoother finish.
Safety Precautions while using orbital sander on polyurethane:

Safety is a top priority when working with power tools, especially when the material you are working with is as sensitive as polyurethane. To ensure the best results, and the safety of yourself and your work environment, here are a few things to keep in mind when using an orbital sander on polyurethane:
- Always wear protective gear such as safety goggles, gloves, and a dust mask to protect yourself from flying debris.
- Make sure your orbital sander is fitted with the proper sandpaper attachment for the type of polyurethane you are working with. Choose a grit that is appropriate for the job; too coarse a grit can cause scratches and gouges in the surface.
- Take extra care when sanding near edges, corners, and rounded surfaces; the orbit of the sander can cause indentations if you are not careful.
- Start by sanding with light pressure and gradually increase it if necessary.
- Work in small sections, changing the sandpaper often to ensure the surface is uniformly smooth.
- Finally, clean the sanded surface with a damp cloth to remove any dust that may have collected.
Following these safety tips will help you get the most out of your orbital sander while ensuring your work is done safely and effectively.
Benefits of using orbital sander on polyurethane:
1. More Consistent Result:
One of the major benefits of using an orbital sander on polyurethane is that it allows for more consistent results. The orbital motion of the sander ensures that all surfaces are evenly sanded and that no areas are missed. This is especially useful when sanding furniture or other projects with intricate details.
2. Create Less Dust:
Another advantage of using an orbital sander is that it is less likely to create dust than other types of sanders. The orbital motion helps to keep the dust contained, which makes the process much cleaner and more efficient. It also reduces the amount of airborne dust particles, which is better for your health.
3. User Friendly:
Orbital sanders are much easier to use than other types of sanders. They are lightweight and maneuverable, making them ideal for sanding intricate corners and hard-to-reach places. They also have a variable speed control, so you can adjust the speed to match the needs of the project.