How do you handle a broken drill bit? One of the most frustrating experiences while working on a project is when your drill bit suddenly breaks. Whether it’s due to wear and tear or a manufacturing defect, a broken drill bit can be a major setback, leaving you wondering if you can get your project finished on time. While the unfortunate answer is that it’s not possible to drill through a broken drill bit
We know that a damage drill bit can be a major headache, and it can be hard to know what to do when you find yourself in this situation. We will provide you with all the information and resources you need to get your broken drill bit fixed and back in action. Whether you’re looking for a quick fix, or you’re considering replacing the damage drill bit altogether, we will help you make the best decision for your situation.
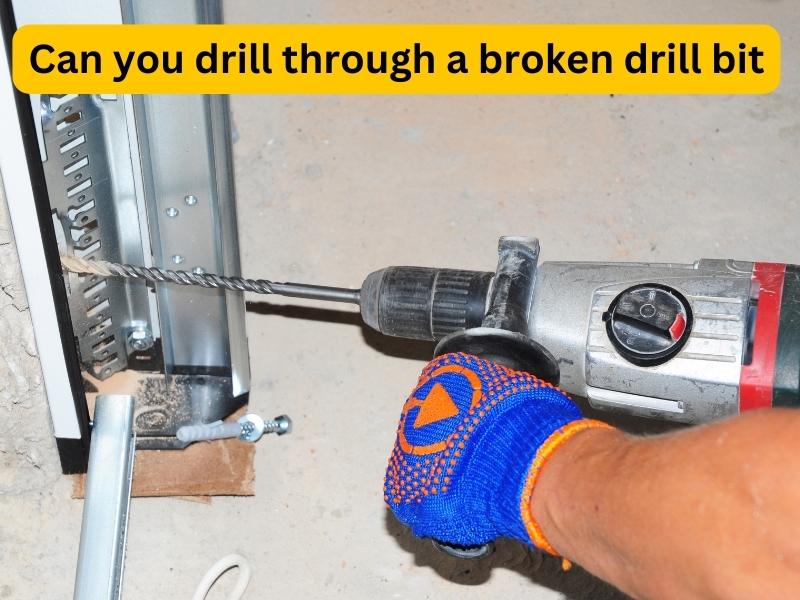
Can you drill through a broken drill bit?
No, you cannot drill through a broken drill bit. Trying to do so is incredibly difficult and it’s not recommended. Drill bits are designed to be used on specific materials and when they are broken, their cutting edges are usually damaged or worn away. This makes it nearly impossible to get a clean cut through materials with the broken bit.
It’s best to avoid using a broken drill bit altogether. While it’s possible to get the job done with a broken bit, it’s not recommended due to the potential for accidents and damage to the material. If you find yourself in a situation where you need to use a broken bit, take the necessary safety precautions and use extreme caution.
Possible Solutions of the broken drill bit:
A drill bit is a vital tool when it comes to any type of construction work. But just like any other tool, it can break and cause a serious issue. Fortunately, there are several possible solutions to fix a broken drill bit and get back to work. Below are the different possible solutions, including the best practices when it comes to dealing with a broken drill bit.
1. Replace the Bit:
The easiest solution to a broken drill bit is to simply replace it. If you don’t have a spare handy, head to your local hardware store and pick up a new one. Be sure to match the diameter and length of the old bit to the new one.
2. File Away Jagged Edges:
If the bit is not too mangled, you can try to file away any jagged edges and make the bit usable again. Start by using a fine-toothed file to smooth out any jagged edges, then use a fine-grit sandpaper to finish the job.
3. Use a Dremel Tool:
If the bit is too badly damaged to make it usable again, you can try using a dremel tool to carefully remove the broken piece. This is a bit of a tricky process, as it involves grinding away the broken piece of the bit and making sure to keep the surrounding material intact.
Drawbacks of using a broken drill bit:
The use of a broken drill bit can be an incredibly dangerous prospect. Not only can it cause injury and damage to the user, but it can also cause further damage to the material that is being worked on.
There are several potential risks associated with the use of a broken drill bit that you should be aware of.
-
Increased Risk of Injury:
Using a broken drill bit can be extremely dangerous and increase the risk of injury to yourself and anyone nearby. As the bit is broken, it may not be able to adequately control the rotation of the drill and can easily slip or jump out of place. The damage bit may cause the drill to vibrate more than normal, further increasing the risk of injury as you try to drill. It is always best to replace a broken drill bit with a new one to ensure that you remain safe while working on any project.
-
Reduced drilling accuracy:
The most obvious drawback is decreased drilling accuracy. A broken bit won’t make a clean cut and can leave an uneven, jagged hole. This can be especially frustrating when you’re trying to make a precision cut. Also, the poor hole finishing can make it difficult to get a smooth surface without some extra sanding or filing.
-
Increased tool wear:
Another downside of using a broken bit is increased tool wear. The jagged edges of the broken bit can cause friction against the material you’re drilling in and can cause your drill to overheat or wear down faster. This can put a serious damper on your project timeline and cost you more money in the long run.
-
Increased risk of overheating due to increased friction:
Using a broken drill bit can lead to an increased risk of overheating. This is because the broken or worn down tip creates more friction as it passes through the material being drilled. This extra friction generates additional heat that can cause the drill bit to overheat, potentially leading to damage to the drill bit or the material being drilled. Further, the extra heat can cause the material being drilled to become brittle or charred, making it more difficult to work with.
Prevention of Broken Drill Bits:
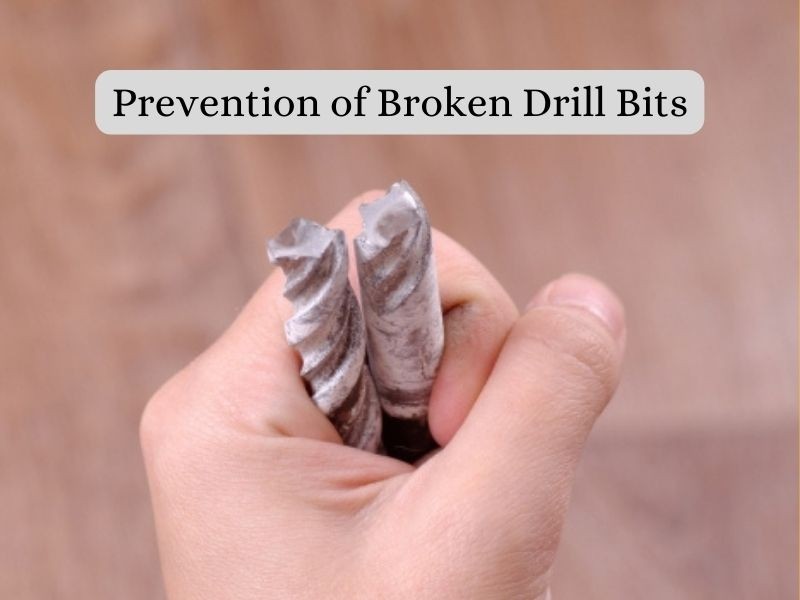
As with any other tool, proper maintenance and care can significantly extend the life of a drill bit. From lubricating and cleaning regularly to using the right drill bit for the job, there are many simple ways to prevent drill bits from breaking prematurely. Below we discuss the various ways to help ensure that your drill bits last as long as possible and work as efficiently as possible.
-
Drill bits should be inspected and maintained regularly:
Regular inspection of drill bits is essential to ensure that they remain in good condition and don’t become damaged or broken. Before starting any drilling process, it’s important to inspect the drill bits to make sure they are free from any defects or damage. You should look for any signs of chips, dents or wear that could cause the bit to break during the drilling process. If any signs of damage are found, the bit should be replaced immediately. Regular inspection and maintenance of drill bits can help reduce the chances of the bit breaking or becoming damaged, and it will also ensure that the job is done right the first time.
-
Ensure proper pressure is applied:
You should also be mindful of the pressure you are applying to your drill bits. If you are pushing them too hard, you can easily cause them to overheat and break. Make sure you are using the proper pressure while drilling.
-
Regular Cleaning:
When you are done drilling, always clean your drill bits with a brush and degreaser before putting them away. This will help remove any debris and lubricants that could damage the bit over time. Taking this simple precaution can help extend the life of your drill bits and prevent them from breaking.
-
Choosing the right drill bit:
Using the correct drill bit is key to preventing broken drill bits. For example, when drilling into metal, you want to use a drill bit specifically designed for metal. These drill bits are usually made of high speed steel, which is ideal for drilling into metal because it can handle the high temperatures and pressure created when drilling into metal. Similarly, if you’re drilling into wood, you want to use a drill bit designed specifically for wood. This type of drill bit is usually made of carbide, which is perfect for drilling into wood because it’s much less prone to breaking. By taking the time to select the right drill bit for the material you’re working with, you can ensure that it won’t break prematurely and cause you problems down the line.
-
Start with slow speed:
When starting to drill, it’s important to start off slow and gradually increase the speed as needed. If you start drilling at a high speed, you run the risk of breaking the drill bit. Starting the drill slowly will help you to gauge the material’s hardness and adjust accordingly.