If your deck is looking a bit worse for wear, you may be considering using a floor sander on it. This can be a great way to restore the wood and make it look like new again. In this blog post, we will walk you through the process of using a floor sander on your deck. In addition to discussing the benefits of floor sanders on decks, we will also discuss how to use them.
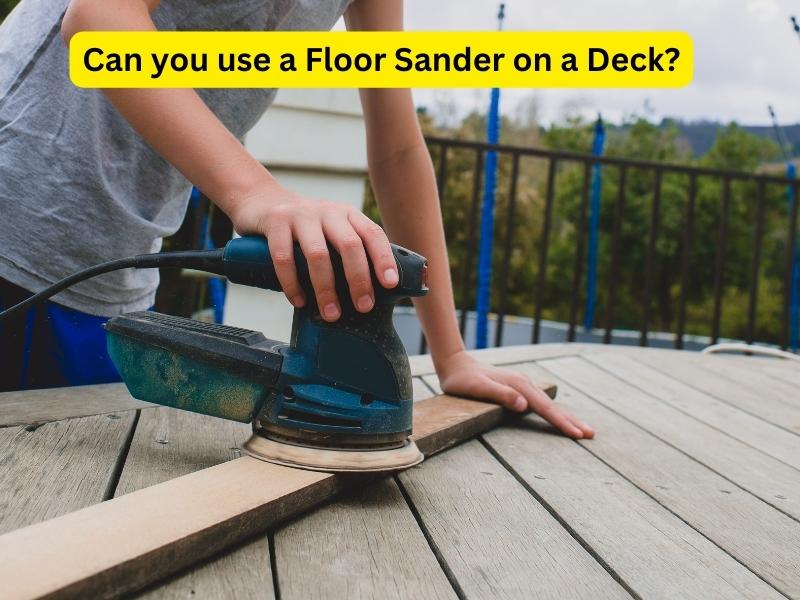
Can you use a Floor Sander on a Deck?

You might be wondering if you can use a floor sander on your deck. The answer is yes, you can use a floor sander on a deck. Before you begin sanding your deck, you should keep a few things in mind.
- You need to make sure that the deck is clean and free of any debris. If there is any dirt or grime on the surface of the deck, it will be very difficult to sand it off.
- It is also important that the deck is completely dry before sanding. A smooth finish will be difficult if the deck is wet.
- You should also use the appropriate type of sandpaper.
If you follow these tips, you should be able to use a floor sander on your deck without any problems.
What are the steps to using a Floor Sander on a Deck?

If your deck is made of pressure-treated lumber, cedar, or redwood, it needs to be sanded before staining or painting. And if you want a smooth surface that’s safe for bare feet, you will need to use a floor sander.
You can do this by following these steps:
- Start with the right sander: You will need a heavy-duty floor sander to do the job right. And make sure you get one that’s equipped with a dust bag, so you can collect all the sanding dust.
- Prepare your deck: Before you start sanding, sweep and clean your deck to remove any dirt or debris. Then, use a putty knife to fill any cracks or nail holes.
- Test the sander: Before you start sanding, test the sander on a small, inconspicuous area of your deck. This will help you get a feel for how the sander works and how much pressure to use.
- Start sanding: Begin in one corner of your deck and work your way across, following the grain of the wood. Overlap each pass slightly to ensure you don’t miss any spots. Start with coarse-grit sandpaper, and move to finer grits as you go. It is important to sand in the direction of the grain, and don’t press too hard to avoid damaging the wood.
- Change the sandpaper: Sandpaper becomes less effective as it wears down. Replace it frequently with fresh paper.
- Finish up: Once you have gone over the entire deck, sweep away any dust or debris. Then, enjoy your newly smooth and safe deck.
Follow these simple steps and you will have a smooth, sanded deck in no time.
Benefits of using Floor Sander on Deck:
- It is a fast way to remove old finishes and stains.
- Floor sanders create minimal dust, making them ideal for indoor use.
- Eliminates the need to sand by hand.
- Saves time.
- Makes the job easier.
- Gives a professional looking finish.
Drawbacks of using Floor Sander on Deck:
- You need multiple passes to get a smooth finish.
- The sander can leave swirl marks.
- It can be difficult to control.
- The dust created is very fine and can be difficult to clean up.
- If you’re not careful, you can sand through the top layer of wood.
FAQs:
Q: What is a floor sander?
A: A floor sander is a power tool that is used to sand down wooden floors. It consists of a circular base with a handle attached to it, and a rotating abrasive pad that spins at high speeds. The operator holds the sander against the floor and moves it in a back-and-forth motion to remove the top layer of wood.
Q: What are the uses of floor sander?
A: Floor sanders are most commonly used to remove the top layer of wood from floors, in preparation for refinishing. They can also be used to remove paint or varnish from wooden surfaces. A floor sander can also smooth rough or damaged floors to create an even surface.
Q: What are the different types of floor sander?
A: Floor sanders can be classified as drum sanders, belt sanders, or orbital sanders.
- Drum sanders are the heaviest and most powerful type of floor sander, and are typically used for large jobs such as refinishing a hardwood floor.
- Belt sanders are lighter and more convenient than drum sanders, and are often used for smaller jobs like sanding edges and removing paint from wood.
- Orbital sander is one of the most compact floor sanders available, and it is typically used to smooth the surface of relatively soft woods in finishing jobs.
Q: How do I prepare my deck for sanding?
A: Follow these steps:
- All furniture, planters, and grills must be removed from the deck first.
- To remove accumulated leaves and debris, sweep the entire surface with a broom.
- Wet down the deck with a garden hose, this will help dislodge any dirt or sand that is embedded in the wood.
- Remove any old paint or sealant from the deck using a putty knife.
- Sand down the deck’s entire surface with a sanding sponge.
Q: How often should I change my sandpaper?
A: When the sandpaper starts to feel smooth instead of gritty, it’s time to change it.
Q: Can I use a garden hose to clean my deck before staining it?
A: Yes, you can use a garden hose to clean your deck before staining it. Before applying stain, let the deck completely dry.
Q: How long does it typically take to sand a deck?
A: The amount of time it takes to sand a deck depends on the size and condition of the deck. A small, lightly-used deck might only take a couple of hours to sand, while a large, heavily-used deck could take a full day.