Crown molding is a great way to add some extra style to your home, and it’s not as difficult to install as you might think. All you need is a few basic tools and some patience. If you want a simple way to install crown molding, look no further. In this blog post, we will show you how to do it without a nail gun. We will walk you through the entire process step by step, so don’t worry if you are a beginner. You will find this method is much easier and less messy, so give it a try.
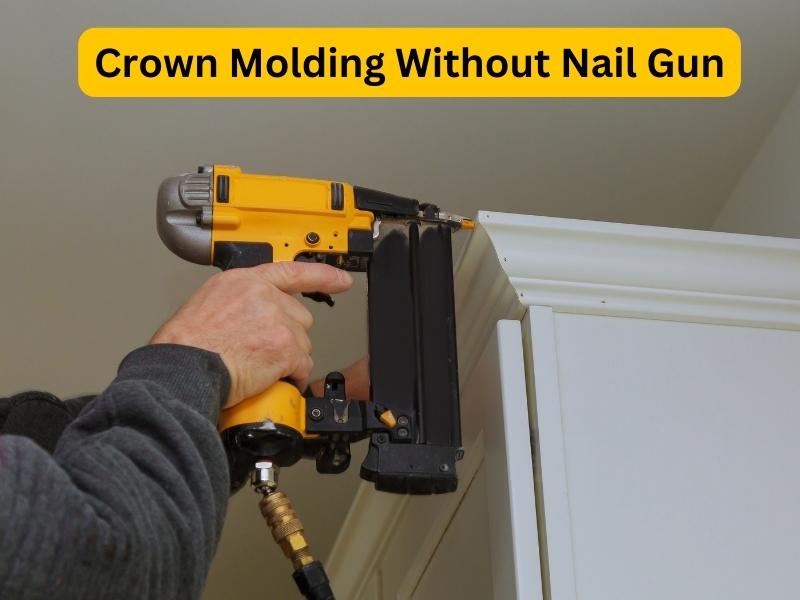
Can you Install Crown Molding Without a Nail Gun?
Yes, you can install crown molding without a nail gun. But the process of installing crown molding without a nail gun is longer and more time-consuming. If you are not careful, you could end up with crooked molding or gaps between the molding and the wall.
Installing crown molding with a nail gun will prevent these problems. With a nail gun, you can quickly and easily attach the molding to the wall without having to worry about making mistakes. You will also save a lot of time, which is especially important if you are working on a large project.
Despite not having a nail gun, you can still install crown molding. Installing crown molding can be a bit challenging, but it’s definitely doable without a nail gun. Prepare yourself for a bit more work and be extra careful to avoid making any mistakes. You can achieve professional looking results by being patient and paying attention to detail.
There are a few things to keep in mind when installing crown molding without a nail gun.
- In order to make the molding angle, you will need to use a miter saw. By doing so, the molding will fit snugly against the wall and ceiling.
- Attaching the molding to the wall requires wood glue. Make sure you use a generous amount of glue to keep the molding in place.
- If there are any gaps between the molding and the wall, fill them with painters’ caulk. Your project will look more professional this way.
How Can you Install Crown Molding Without a Nail Gun?
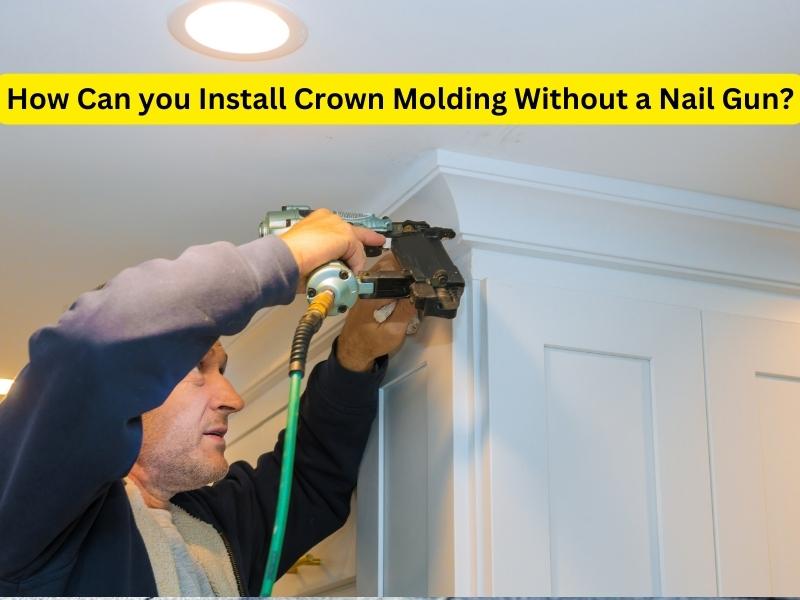
If you do not own a nail gun, don’t worry. Crown molding can still be installed without a nail gun. The steps are as follows:
- Gather your supplies first. You will need some wood glue, painters tape, a hammer, and finish nails. As soon as everything is gathered, you can start preparing your molding.
- If your crown molding is already painted or stained, you can skip this step. But if it’s not, now is the time to do it. You want to make sure that your molding is the same color as the rest of the trim in your space. This will help it blend in and look more seamless.
- Once your molding is prepped and ready to install, it is time to begin. The first step is to cut your molding to fit. You will want to use a miter saw for this, but if you don’t have one, a regular saw will work too.
- After the molding has been cut, it’s time to attach it to the wall. Apply a generous amount of wood glue to the back of the molding. Then, use painters tape to secure it in place. Start at one end and work your way down.
- Hammer in the finish nails after the molding is securely in place. Start at the top and work your way down, making sure to space the nails out evenly.
- Fill in any nail holes with wood putty once all the pieces are in place.
- Once that is dry, you are done.
It’s time to stand back and admire your work. You have successfully installed crown molding without using a nail gun.
Tools Needed to Install Crown Molding Without Nail Gun:
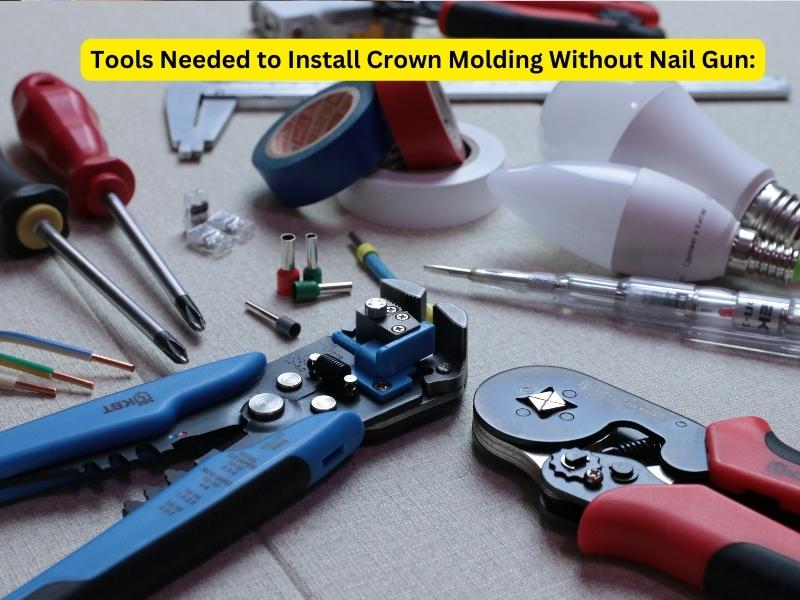
Crown molding can be easily installed without a nail gun with a few supplies and patience.
- Wood Glue
- Painters Tape
- Hammer
- Finish Nails
- Wood Putty (to fill in nail holes)
- Crown Molding
Common Mistakes while Installing Crown Molding Without Nail Gun:
There are some mistakes people make when installing crown molding. This can cause the crown molding to come loose and fall if it is not installed properly. Here are some of the most common mistakes people make while installing crown molding without a nail gun and what you can do to avoid them.
1. Using the wrong type of crown molding:
Make sure you use the right type of crown molding for your room. There are many different types and styles so take the time to choose the one that will best suit your room.
2. Not considering the room’s size:
Take into account the size of the room when choosing the size of the crown molding. If you have a large room, you will need to use larger one. On the other hand, if your room is small, you will need smaller one.
3. Measuring the walls incorrectly:
Measure the walls correctly before cutting the crown molding. This will ensure that your cuts are straight and even.
4. Making uneven cuts:
When cutting the crown molding, be sure to make clean, straight cuts. Uneven cuts will result in an uneven appearance.
5. Insufficient nails:
Use enough nails to secure the crown molding in place.
When installing crown molding, follow these simple tips to avoid making common mistakes. A little care and attention will result in a professional appearance.results.
Drawbacks of Installing Crown Molding Without Nail Gun:
- It is more difficult to install crown molding without a nail gun.
- Installing crown molding without a nail gun increases the likelihood of mistakes.
- It takes longer to install crown molding without a nail gun.
- If you don’t have a nail gun, you may not get the same results when installing crown molding.
FAQs:
Q: Can you explain what crown molding is?
A: Crown molding is a decorative element that is installed where the ceiling and walls meet. It can be made from a variety of materials, including wood, plaster, and plastic. Crown molding can be simple or ornate, and it is often used to add a finishing touch to a room.
Q: Why is crown molding beneficial?
A: Some of the benefits are listed below
- An elegant touch can be added to a room with it.
- It can give a room a more polished and finished look.
- Furthermore, it can be used to cover up any walls or ceiling imperfections.
- It can also be used to give the illusion of a higher ceiling.
Q: What are some tips for installing crown molding?
A: Crown molding is a beautiful way to finish off a room, but it can be tricky to install. Here are some tips to help you get the job done right:
- Measure twice, cut once: This is especially important when cutting crown molding at an angle. A slight miscalculation can throw off the whole project.
- Use a level: This will help you make sure your crown molding is even and level as you install it.
- Take your time: Crown molding installation is not a race. If you rush, you are more likely to make mistakes.
Q: How do you choose the right type of crown molding for your home?
A: There are a few things to consider when choosing the right type of crown molding for your home.
- Room height: The first thing to consider is the room’s height. In a tall room, you should choose a taller one.
- Style of the room: There is also the style of the room to consider. Your choice will depend on the room style.
- Room color: It is also important to take note of the color of the room.
Considering these factors will help you choose the right type.
Q: What are some of the most popular crown molding styles?
A: There are many popular styles, but some of the most popular include:
- Cove molding: This type of molding is rounded on the top and has a concave profile. It’s often used to transition between walls and ceilings, or to create an architectural detail.
- Ogee molding: Moldings of this type have curved, S-shaped profiles. This is often used in decorative situations or to indicate a transition from one surface to another.
- Dentil molding: There is a repeating pattern of small, rectangular blocks in this type. The material is often used to add a decorative border or to accentuate an architectural feature.
- Base molding: This type are used to create decorative details or transition from wall to floor.
- Chair rail molding: The purpose of this type is to protect walls against damage, or to create a decorative border.
You will choose your molding style based on the overall design of your home and what you hope to achieve.