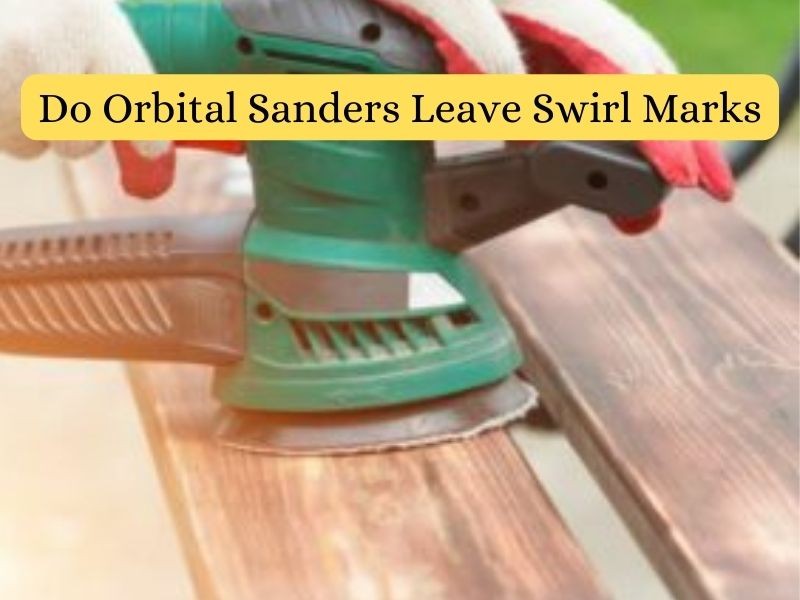
Orbital sanders are a great way to quickly remove the finish from your woodworking project. They are especially handy for removing the finish from curved surfaces. The downside of using them is that sometimes they leave swirl marks on wood.
Swirl marks are one of the biggest concerns for anyone who uses an orbital sander. No one wants to spend hours sanding only to find out that their hard work has been undone by unsightly swirl marks.
But the good news is that, with the right technique, you can avoid these marks altogether. The purpose of this article is to explain why orbital sander leaves swirl marks and how to prevent them.
Do Orbital Sanders Leave Swirl Marks?
The answer is both yes and no. If you use an orbital sander incorrectly, then it’s possible to leave swirl marks. It is possible to prevent swirl marks altogether if you use the right technique.
When it comes to removing material with orbital sanders, they are very effective at removing material and leaving a smooth surface, but they can sometimes leave swirl marks on the surface.
A smooth, sanded surface feels great, whether you are finishing a metal project or preparing wood for stain. Achieving that perfect finish is not always easy. Using an orbital sander can leave behind unsightly swirls. But don’t worry, we will show you how to remove these pesky marks in no time at all.
What Causes Swirl Marks?
- Swirl marks are usually caused by the pad on your orbital sander spinning too fast. When the pad spins too fast, it doesn’t have enough time to level out the surface before moving on to the next spot. As a result, you’re left with an uneven, Patchy surface.
- Also these marks are usually caused by the sander moving in an elliptical pattern, which can create small grooves in the surface.
- In some cases, swirl marks can also be caused by using too much pressure when sanding.
How to avoid swirl marks when using an orbital sander?
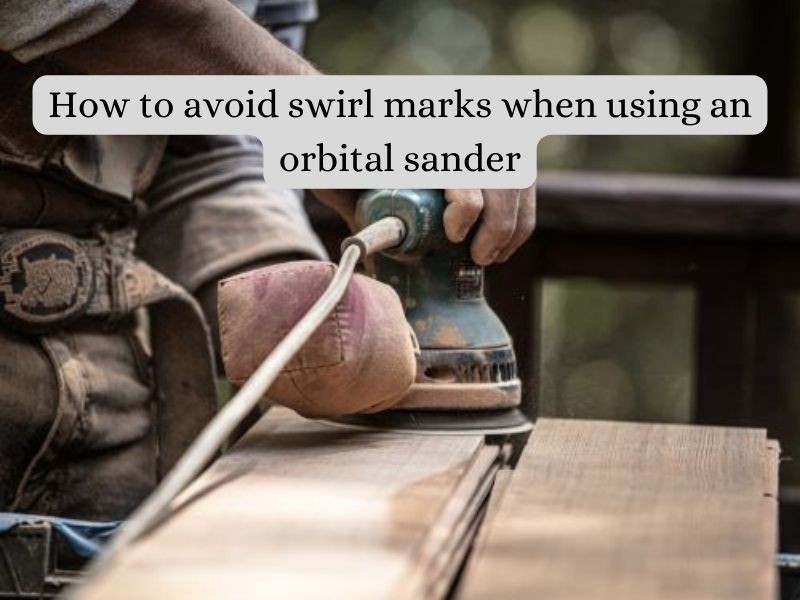
As anyone who has used an orbital sander knows, one of the biggest dangers of using such a tool is the possibility of leaving swirling patterns in the wood that are hard to remove. There are a few things you can do to avoid swirl marks when using an orbital sander.
1. Move the sander in different directions:
While it may seem counterintuitive, moving the sander in different directions will actually help to avoid swirl marks. This is because when you move the sander in different directions, the abrasive paper will cut into the wood in different ways, leaving a more even finish.
2. Sand with a lower grit:
The higher the grit on your sandpaper, the more likely you are to leave swirl marks. If you start with a low grit and work your way up, you will be less likely to damage the wood.
3. Reduce the speed:
If you are using an orbital sander with variable speed settings, start at a lower setting and work your way up until you find the right speed for the job. A slower speed will help to prevent swirl marks.
4. Don’t press too hard:
Putting too much pressure on the sander can also cause swirl marks. Instead, use light pressure and let the weight of the sander do the work.
5. Choose a finer grit paper:
If you are using a coarser grit sandpaper, you are more likely to leave swirl marks. A finer grit will help to avoid this problem.
6. Keep your sandpaper clean:
When the sandpaper starts to fill up with sawdust, it’s time to change it. A clean sheet of sandpaper will grip the wood better and cut more evenly.
7. Wax or polish the area after sanding:
This will help to fill in any microscopic scratches left behind by the sandpaper and make the area less susceptible to future damage.
8. Rotate the sander in an even, circular motion:
It is better to keep the sander rotating in even, circular motions in order to prevent swirl marks from appearing on the surface.
9. Move the sander continuously:
If you use the sander for too long in one spot, you will be more likely to leave a swirl mark as a result. It is therefore important to keep sander moving continuously.
The following tips will help you avoid swirl marks when you are using an orbital sander. With just a little bit of practice, you will be able to avoid those pesky swirl marks and provide your project with a smooth finish.
When an orbital sanders leave swirl marks:
Many people don’t realize that there is a right and wrong way to use an orbital sander. As a result, they end up with swirl marks on their project, which can be frustrating. We will show you the right way to use an orbital sander so that you can avoid those unsightly swirl marks.
There are two main reasons why people get swirl marks when using an orbital sander:
- Incorrect sandpaper grit
- Incorrect sanding technique
1. Sandpaper Grit for Orbital Sanders:
The type of sandpaper you use will have a big impact on whether or not you get swirl marks. For most projects, you will want to use a medium grit sandpaper, such as 120-grit. If the wood is particularly rough or if you are trying to remove a previous finish, you may need to start with a coarse grit sandpaper, such as 80-grit. But be careful not to use too coarse of a grit otherwise, you may end up with gouges in the wood.
2. Orbital Sander Sanding Technique:
Once you have selected the right sandpaper grit, it’s time to focus on technique. When using an orbital sander, always move the sander in different directions, never go in just one direction. This will help avoid those frustrating swirl marks. Also be sure to apply light pressure evenly across the entire surface of the sander, don’t bear down too hard in one spot.
As you move the sander across the surface of your project, keep an eye out for any areas that seem to be taking longer to sand smooth. These areas may have more stubborn imperfections that require a little extra attention. When you come across these areas, slow down and focus on getting them smooth before moving on.
How to Remove Swirl Marks Left by an Orbital Sander?
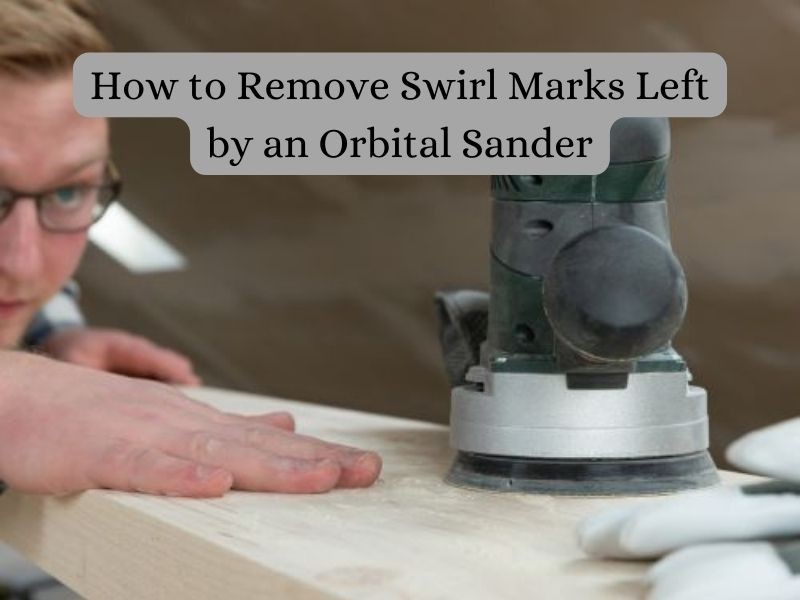
There are a few different ways that you can remove swirl marks from your surfaces. Here is a step by step process to remove swirl marks left behind by an orbital sander.
- Begin by sanding the surface with a high-grit sandpaper.
- Then you use a low-grit sandpaper to smooth out the surface.
- To finish off, a polishing compound is used to give the surface a shine, and then we buff it with a dry cloth.
This process will remove most of the swirl marks left behind by an orbital sander. If there are still some remaining, you can try using a higher-grit sandpaper or a different polishing compound. Experiment until you find a method that works best for you.