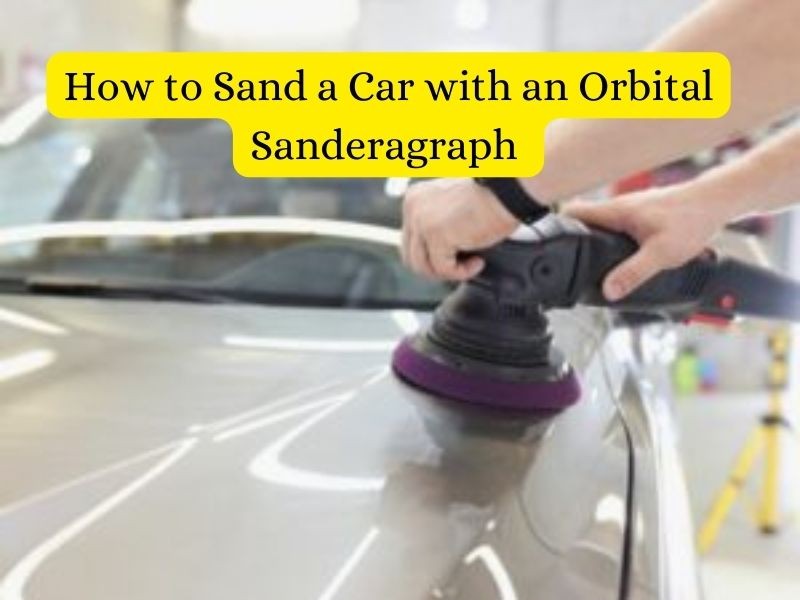
There are a few things that you need to consider when you want to sand a car with an orbital sander. In this guide, we will walk you through the process step by step so that you can sand your car efficiently and effectively. We will also discuss common mistakes people make when sanding a car. So whether you are a beginner or an experienced DIYer, this guide has everything you need to know about sanding cars.
Can you Sand a Car with an Orbital Sander?
Yes, you can sand a car with an orbital sander. But, a few things need to be taken into consideration.
1. Sandpaper selection:
To begin with, you will need to choose the right sandpaper. Coarse sandpaper will remove paint faster, but it can also damage the car’s surface. Fine sandpaper will remove paint more slowly, but it’s less likely to damage the car’s surface.
2. Sand lightly:
You must also be careful not to sand too deeply. Sanding too deeply will remove more paint than you intended and may damage the surface of the car.
3. Sanding randomly:
The orbital sander should be moved consistently. Randomly moving the orbital sander could result in uneven sanding and damage to the car.
4. Too much sand:
Make sure you don’t sand for too long in one place. Oversanding could leave a hole in the car’s surface if you stay on one spot for too long.
How to Sand a Car with an Orbital Sander?

Before painting your car, you should sand it. The following is a step-by-step guide to sanding a car using an orbital sander.
Before you begin, make sure you have the following supplies:
- An orbital sander
- Sandpaper(coarse, medium, and fine grits)
- A dust mask
- Safety goggles
- A tarp or drop cloth
- Gather all of the necessary supplies.
- Ensure that your workspace is clean and well ventilated.
- In order to sand your car, you must first prepare it. This includes washing it thoroughly and removing any loose debris or dirt.
- Once your car is clean, you will need to tape off any areas that you do not want to sand. This includes trim pieces, mirrors, and emblems.
- Now you are ready to begin sanding. Start with a coarse grit sandpaper and work your way up to a finer grit. Be sure to sand evenly and in a circular motion. Pay special attention to any areas that are particularly scratched or damaged.
- Once you have finished sanding, you will need to remove all of the dust and debris. This can be done with a vacuum or a damp cloth. Make sure you clean all the nooks and crannies, as dust left behind can cause problems later.
- After that, you’ll need to apply a primer and paint to your car. This will protect it from rust and provide a smooth surface for the new paint job.
You have now successfully sanded your car with an orbital sander. Work carefully and take your time to achieve the best results.
Common Mistakes people make when using an Orbital Sander to Sand a Car:
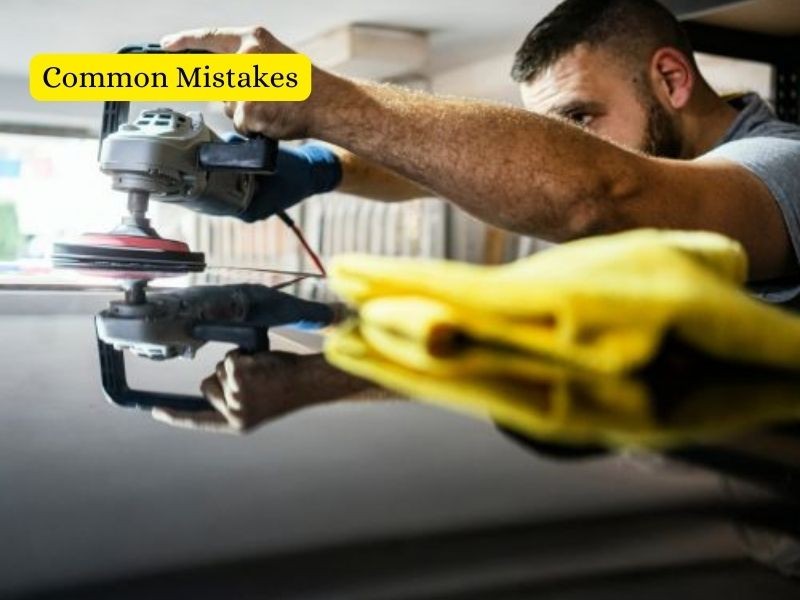
When sanding a car, people commonly make the following mistakes.
1. Select wrong sandpaper:
Using the wrong paper is one of the most common mistakes. There are many different types of sandpaper on the market, and each has its own specific purpose. Using the wrong type of paper can damage your paint job or leave unsightly scratches.
2. High Pressure:
The use of high pressure is also a common mistake. Orbital sanders are designed to be used with light pressure, so when you are pressing too hard, you are not going to get the best results.
3. Sanding without proper preparation:
One of the most common mistakes is not properly preparing the surface prior to sanding. If there’s any dirt or debris on the surface, it’s going to get caught under the sandpaper and scratch the surface. So make sure you wipe down the surface with a clean cloth before you start sanding.
4. Poorly Ventilated Area:
Sanding in a poorly ventilated area is another mistake. Sanding produces a lot of dust, and if you’re not in a well-ventilated area, you could inhale harmful particles.
5. Sand Unevenly:
In most cases, people don’t sand evenly when they are sanding. And if you don’t sand evenly, the new paint will have an uneven finish.
Avoid these common mistakes when painting your car. During the painting process, sanding is an essential step, and if done correctly, can produce beautiful results.
FAQs:
Q: What are the benefits of using an orbital sander?
A: Orbital sanders are ideal for car sanding because they provide a smooth, even finish. They are also relatively easy to use and can be worked over large areas quickly.
Q: How do I choose the right orbit sander for my car?
A: The size of the sander and the type of backing pad you’ll need will depend on the size of your car. For smaller cars, a palm-sized sander with a Velcro backing pad will suffice. For larger vehicles, you may need a full-size orbital sander with a sponge backing pad.
Q: What type of sandpaper should I use with my orbital sander?
A: You will need different types of sandpaper depending on the type of paint job you intend to do. If you want a smooth, even finish, choose fine-grit sandpaper. If you want a more textured finish, choose coarse-grit sandpaper.
Q: How do I avoid damaging my car’s paint job while sanding?
A: To avoid damaging your car’s paint job, be sure to use a light touch when sanding. Apply even pressure and move the sander in small, circular motions. work slowly and carefully around edges and corners.
Q: How do I know when I’m done sanding?
A: You will know you’re done sanding when the entire surface is evenly smooth. Pay special attention to any areas that were previously damaged or repaired, as these may require more sanding than the rest of the car.
Q: Can I use an orbital sander on other surfaces besides my car?
A: Orbital sanders can be used on a variety of surfaces, including wood, metal, and plastic.